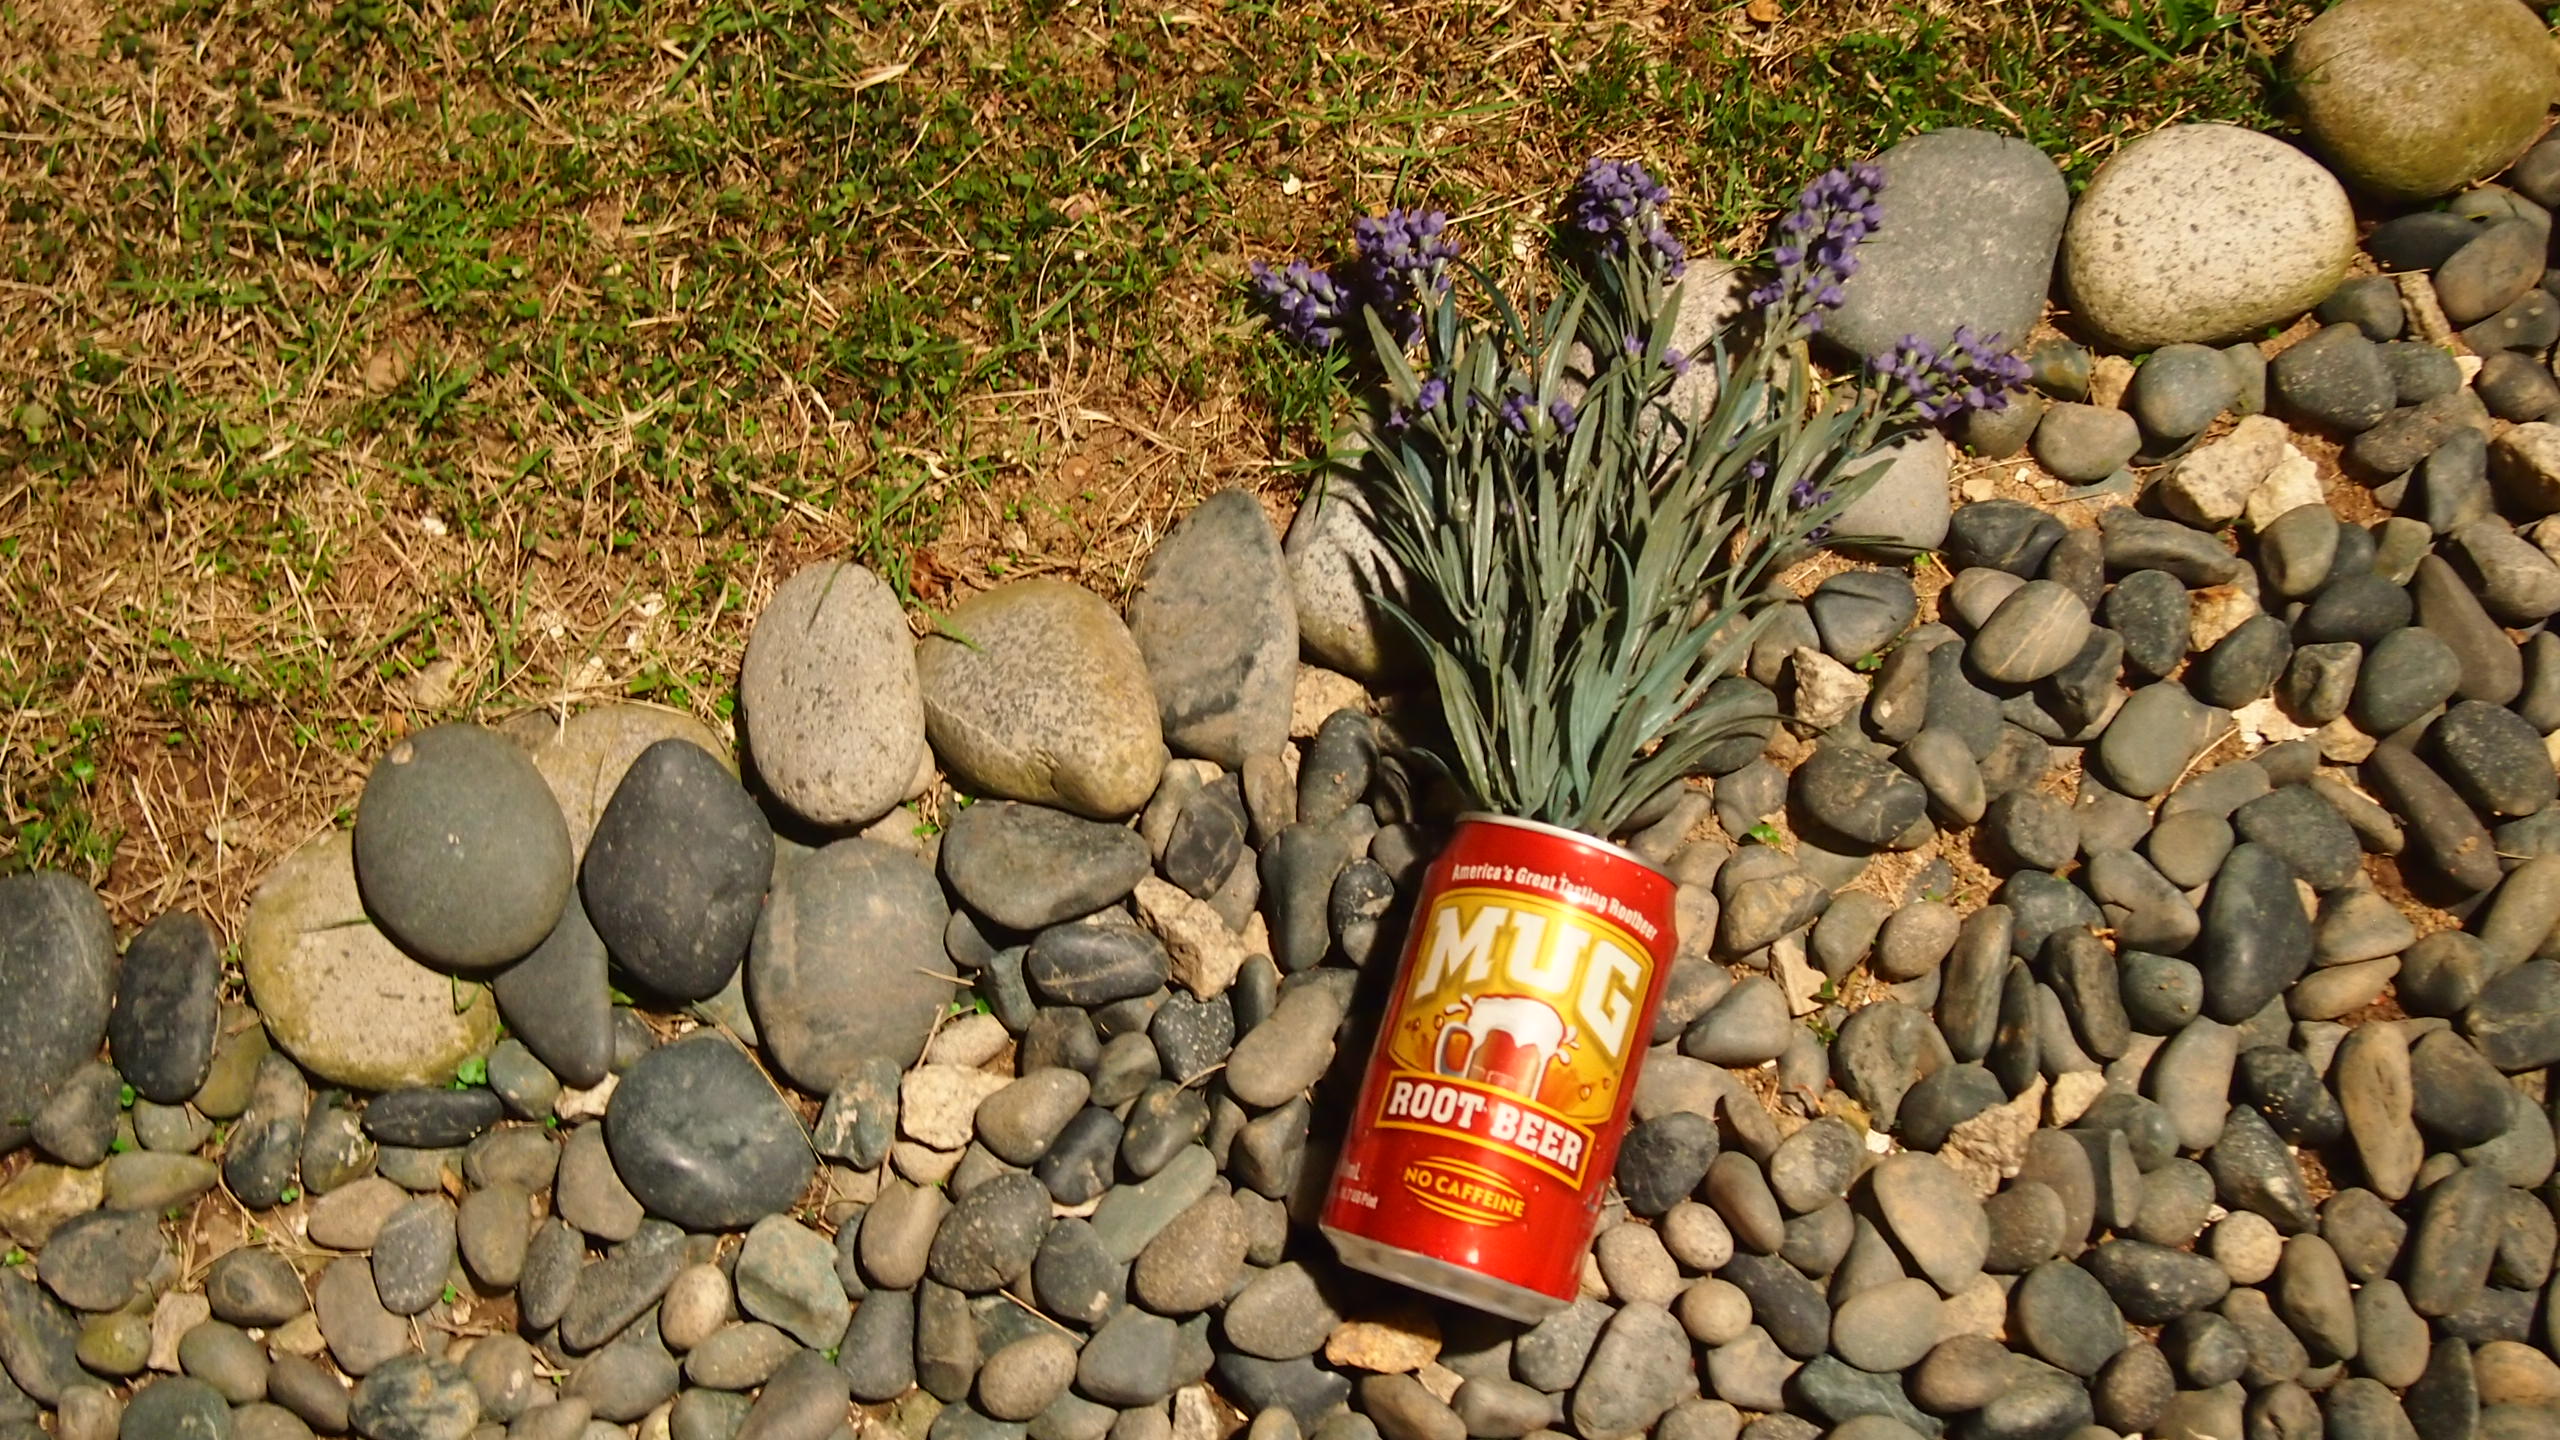
Sometimes in Photography, we have to learn to be creative in order to stand out from the other photographs. Using your imagination or maybe what you have around you will help you make your photo more interesting and original.
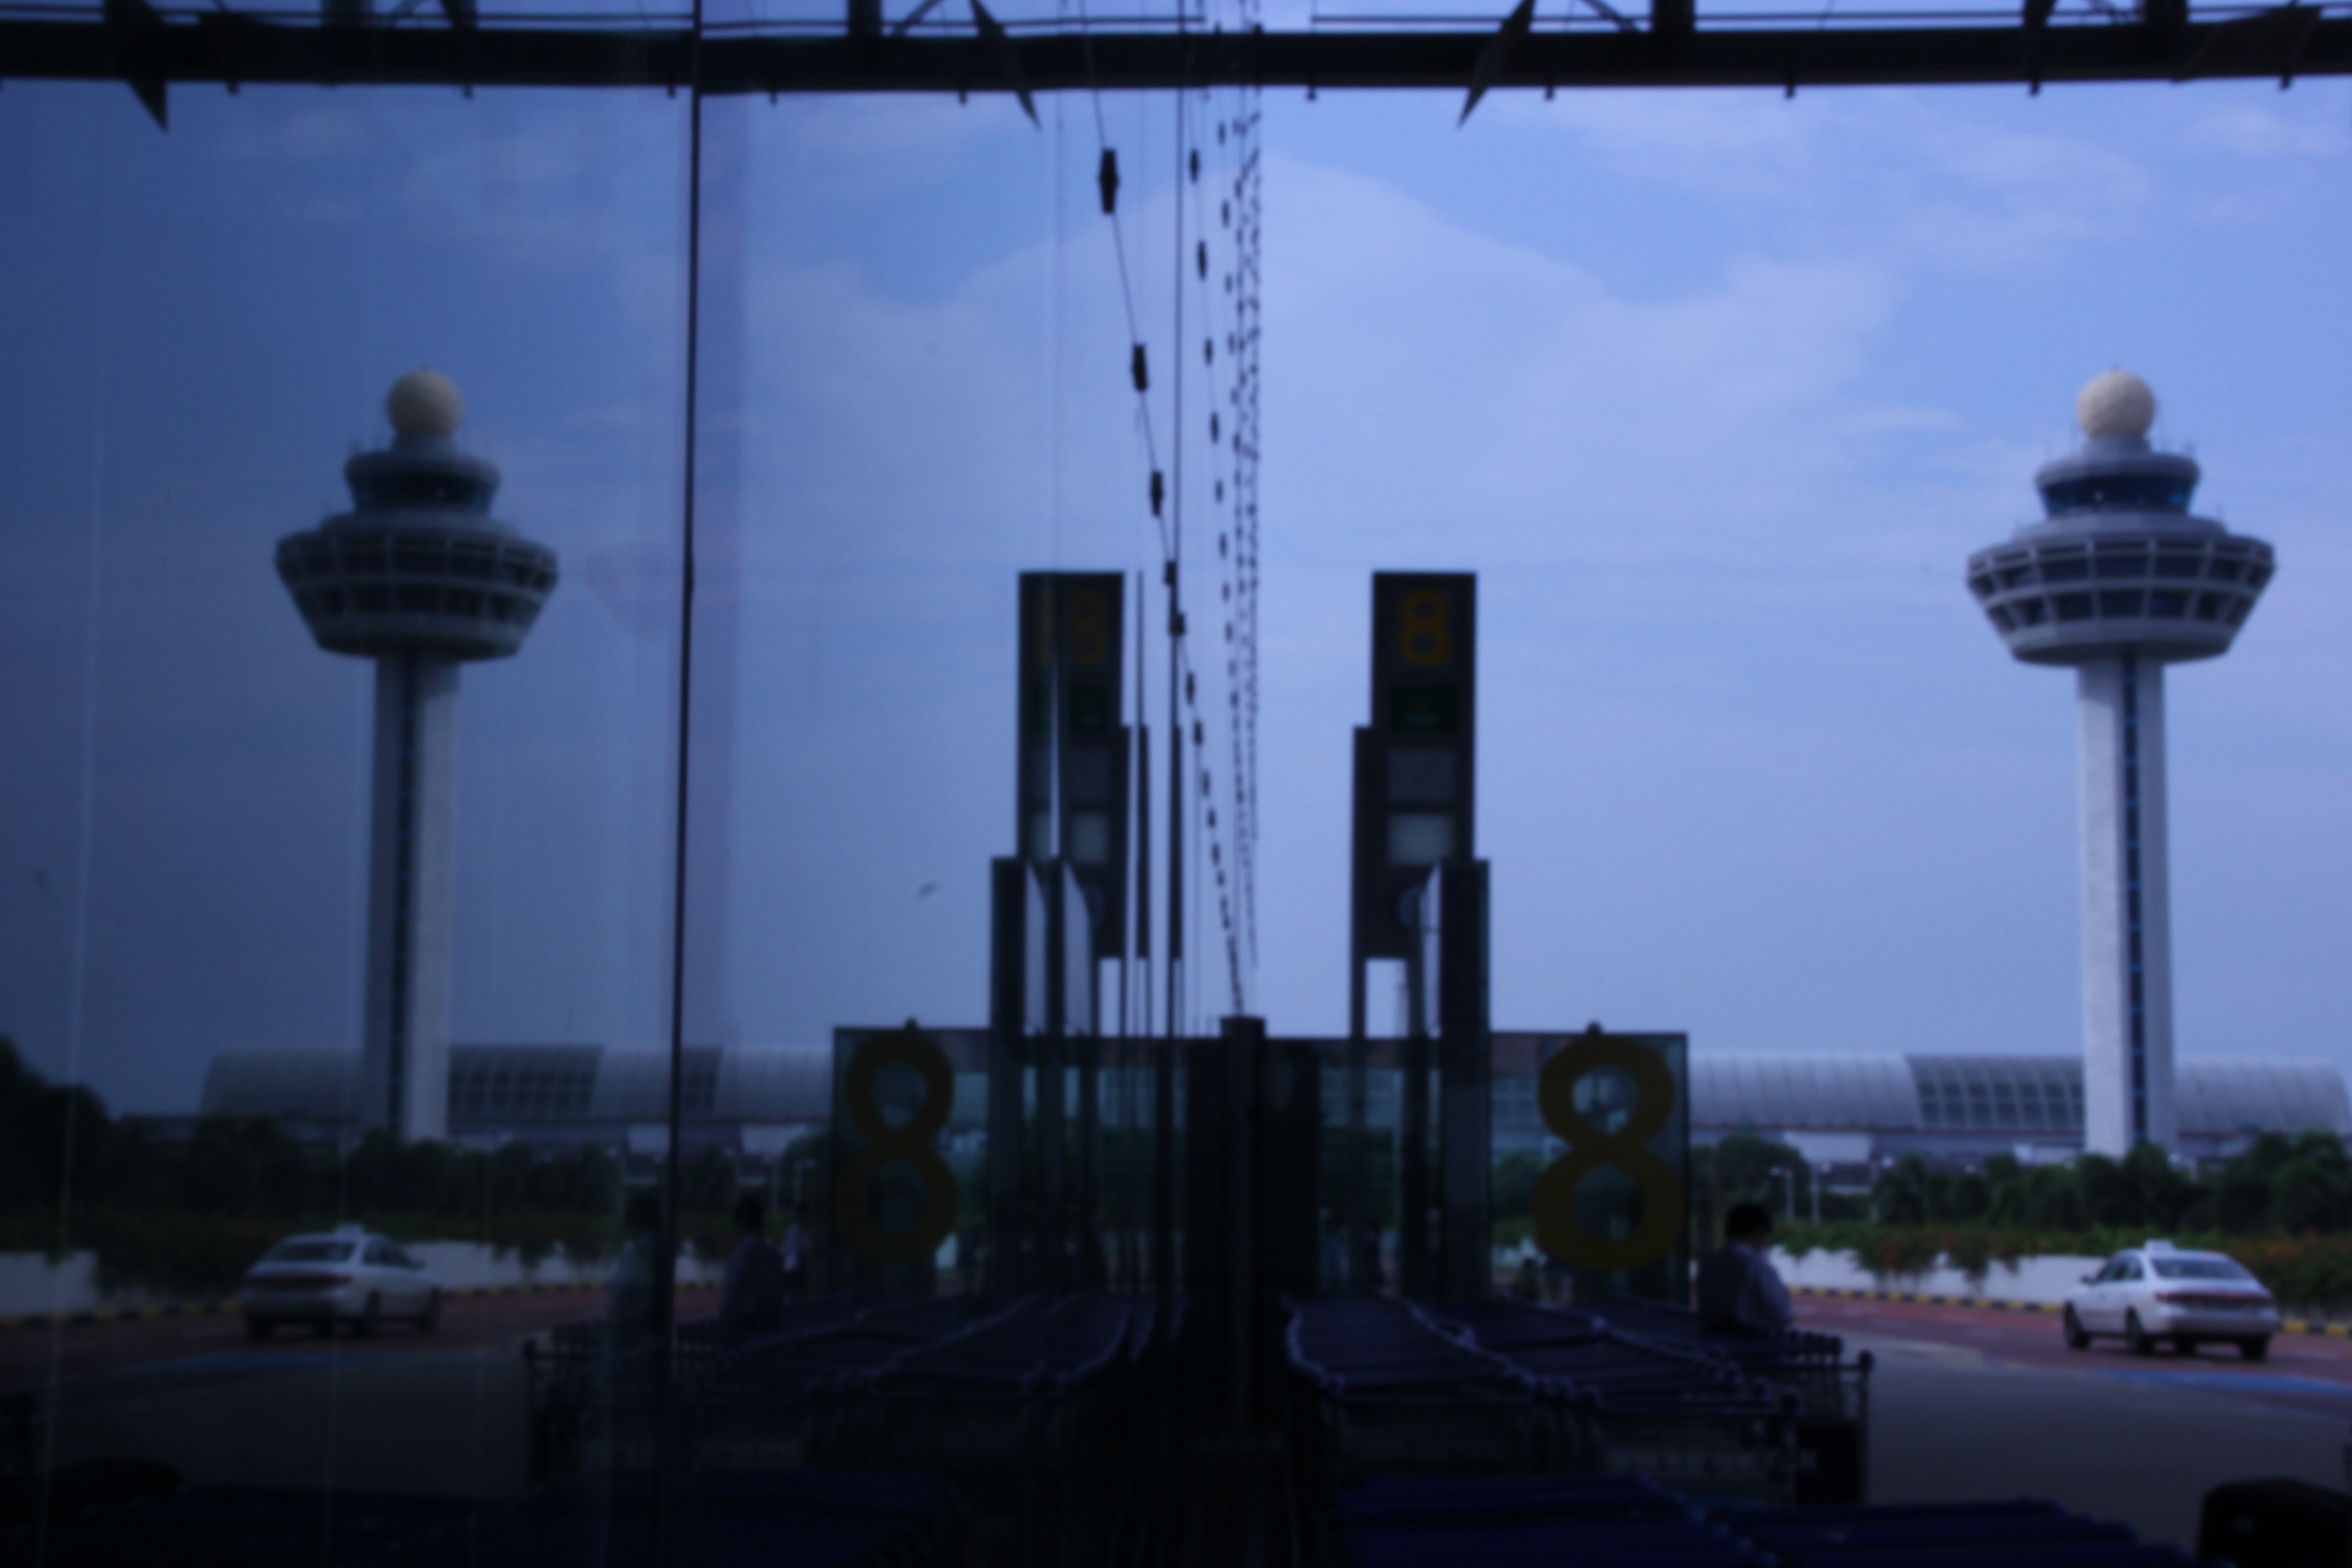
For example, if you are wearing Spectacles,
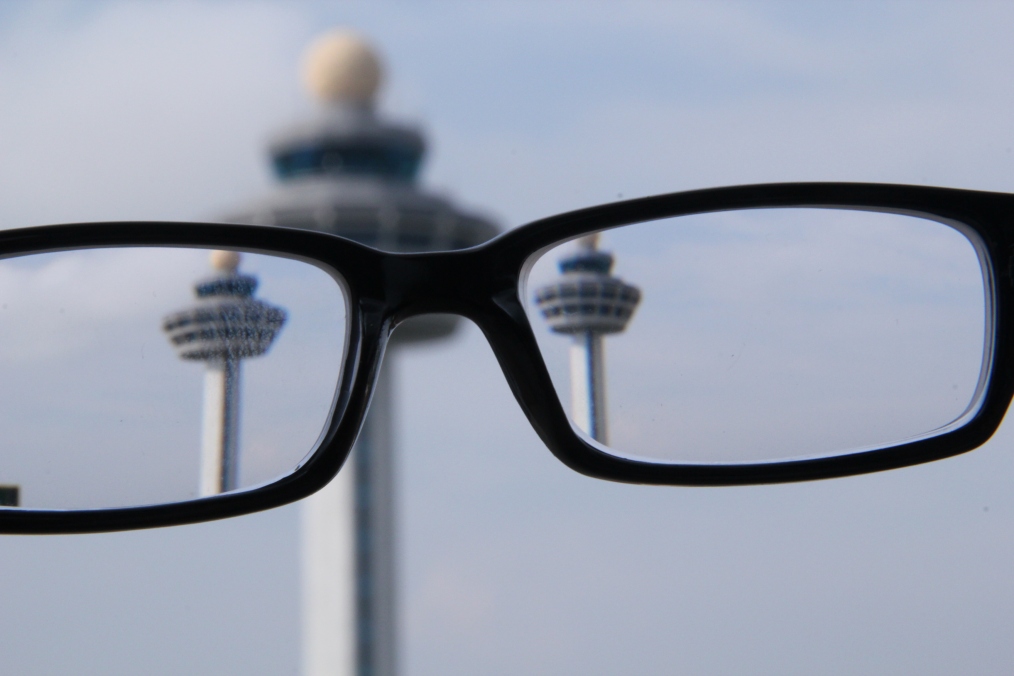
just like in the picture, the speactacles are used to make 2 of the Airport Tower.
Next, you can use any ‘reflective’ glass to make a ‘mirror image’.

Can you see that the Airport Tower is almost symmetrical?
And here, the Airport Tower is used as a reflection to be seen from another angle.

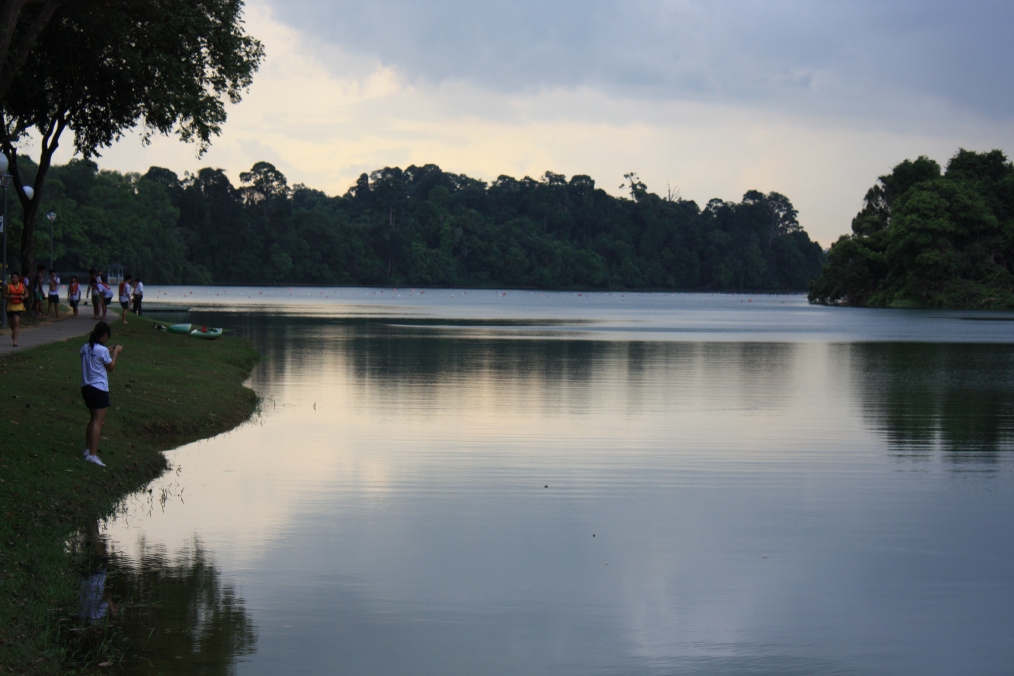
And another example of a River.
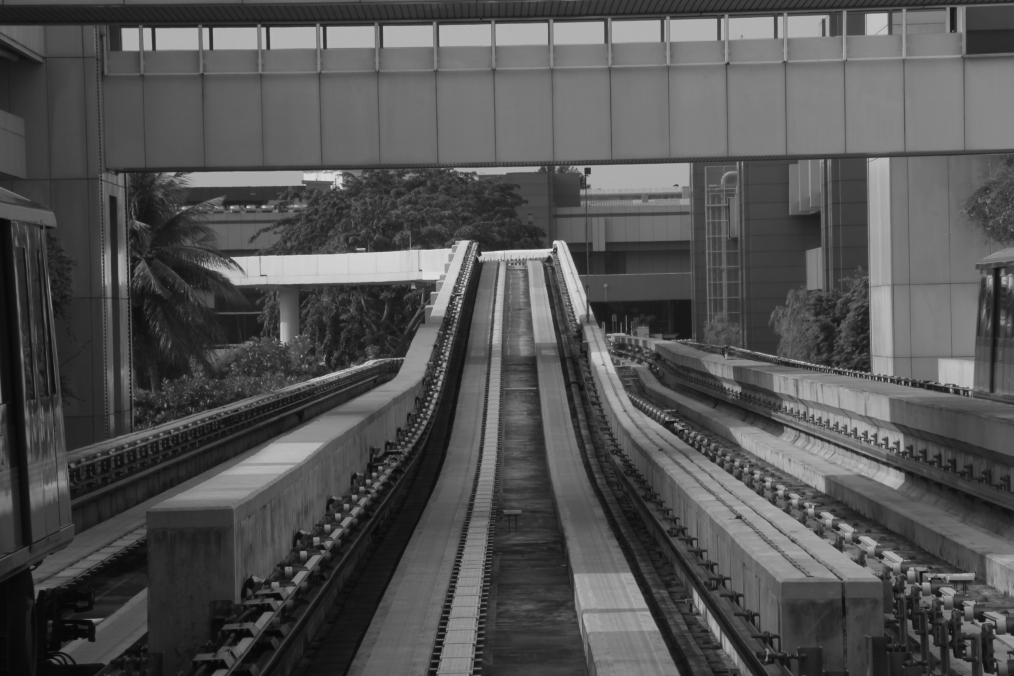
You may also take photos as you travel. For example– Railway tracks make good photos for ‘Leading Lines’
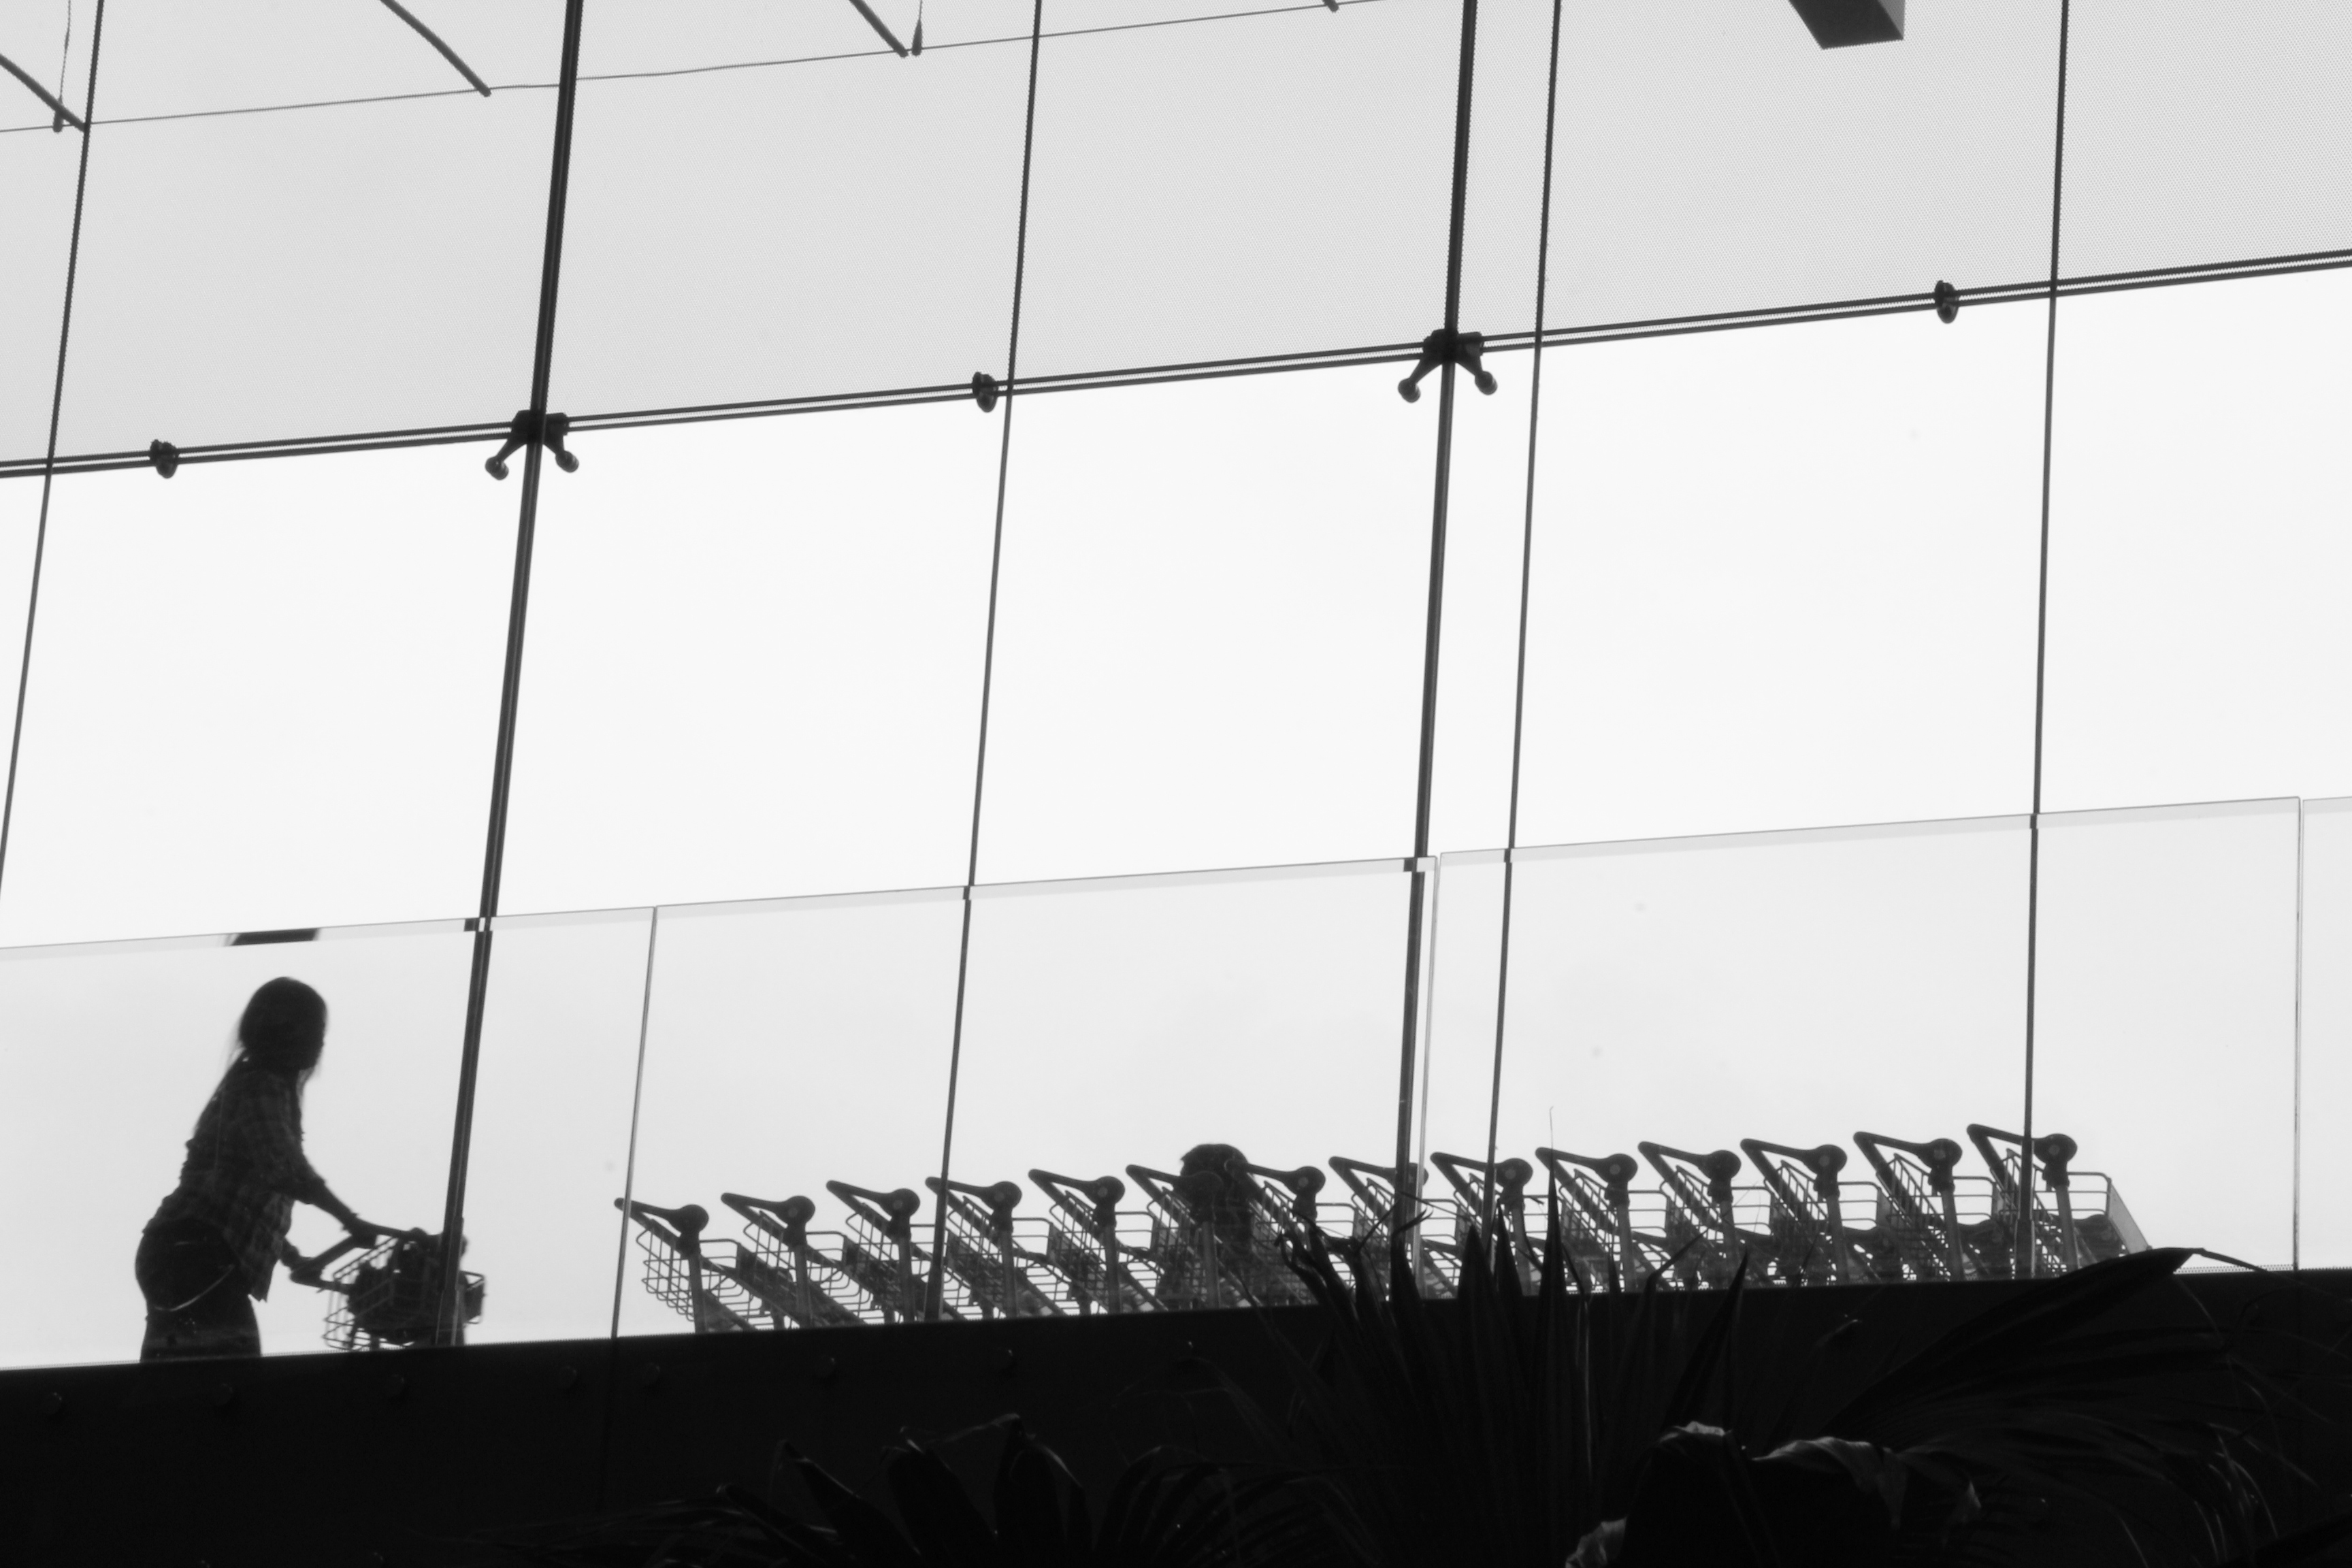
Next would be contrast in pair with lines. Contrast is basically the opposite theme of the other. Let this picture explain.

Another creative reflection would be the use of spoons where it creates a convex/concave effect.

Sometimes, setting the exposure component (ISO) and lighting to a low number is an advantage to take ‘vintage’-like photos.
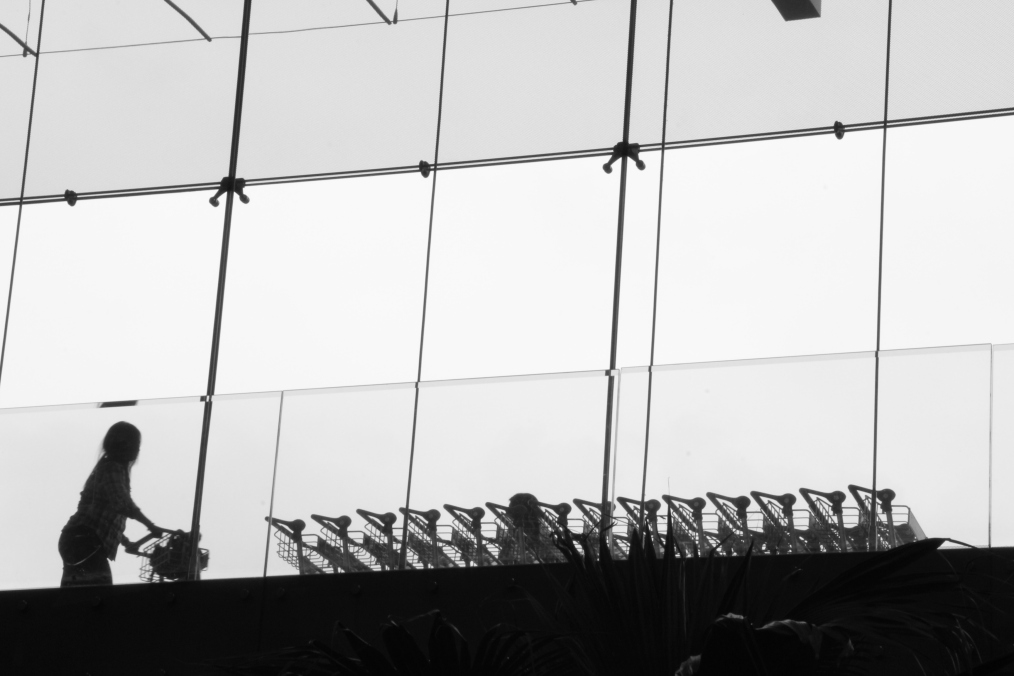
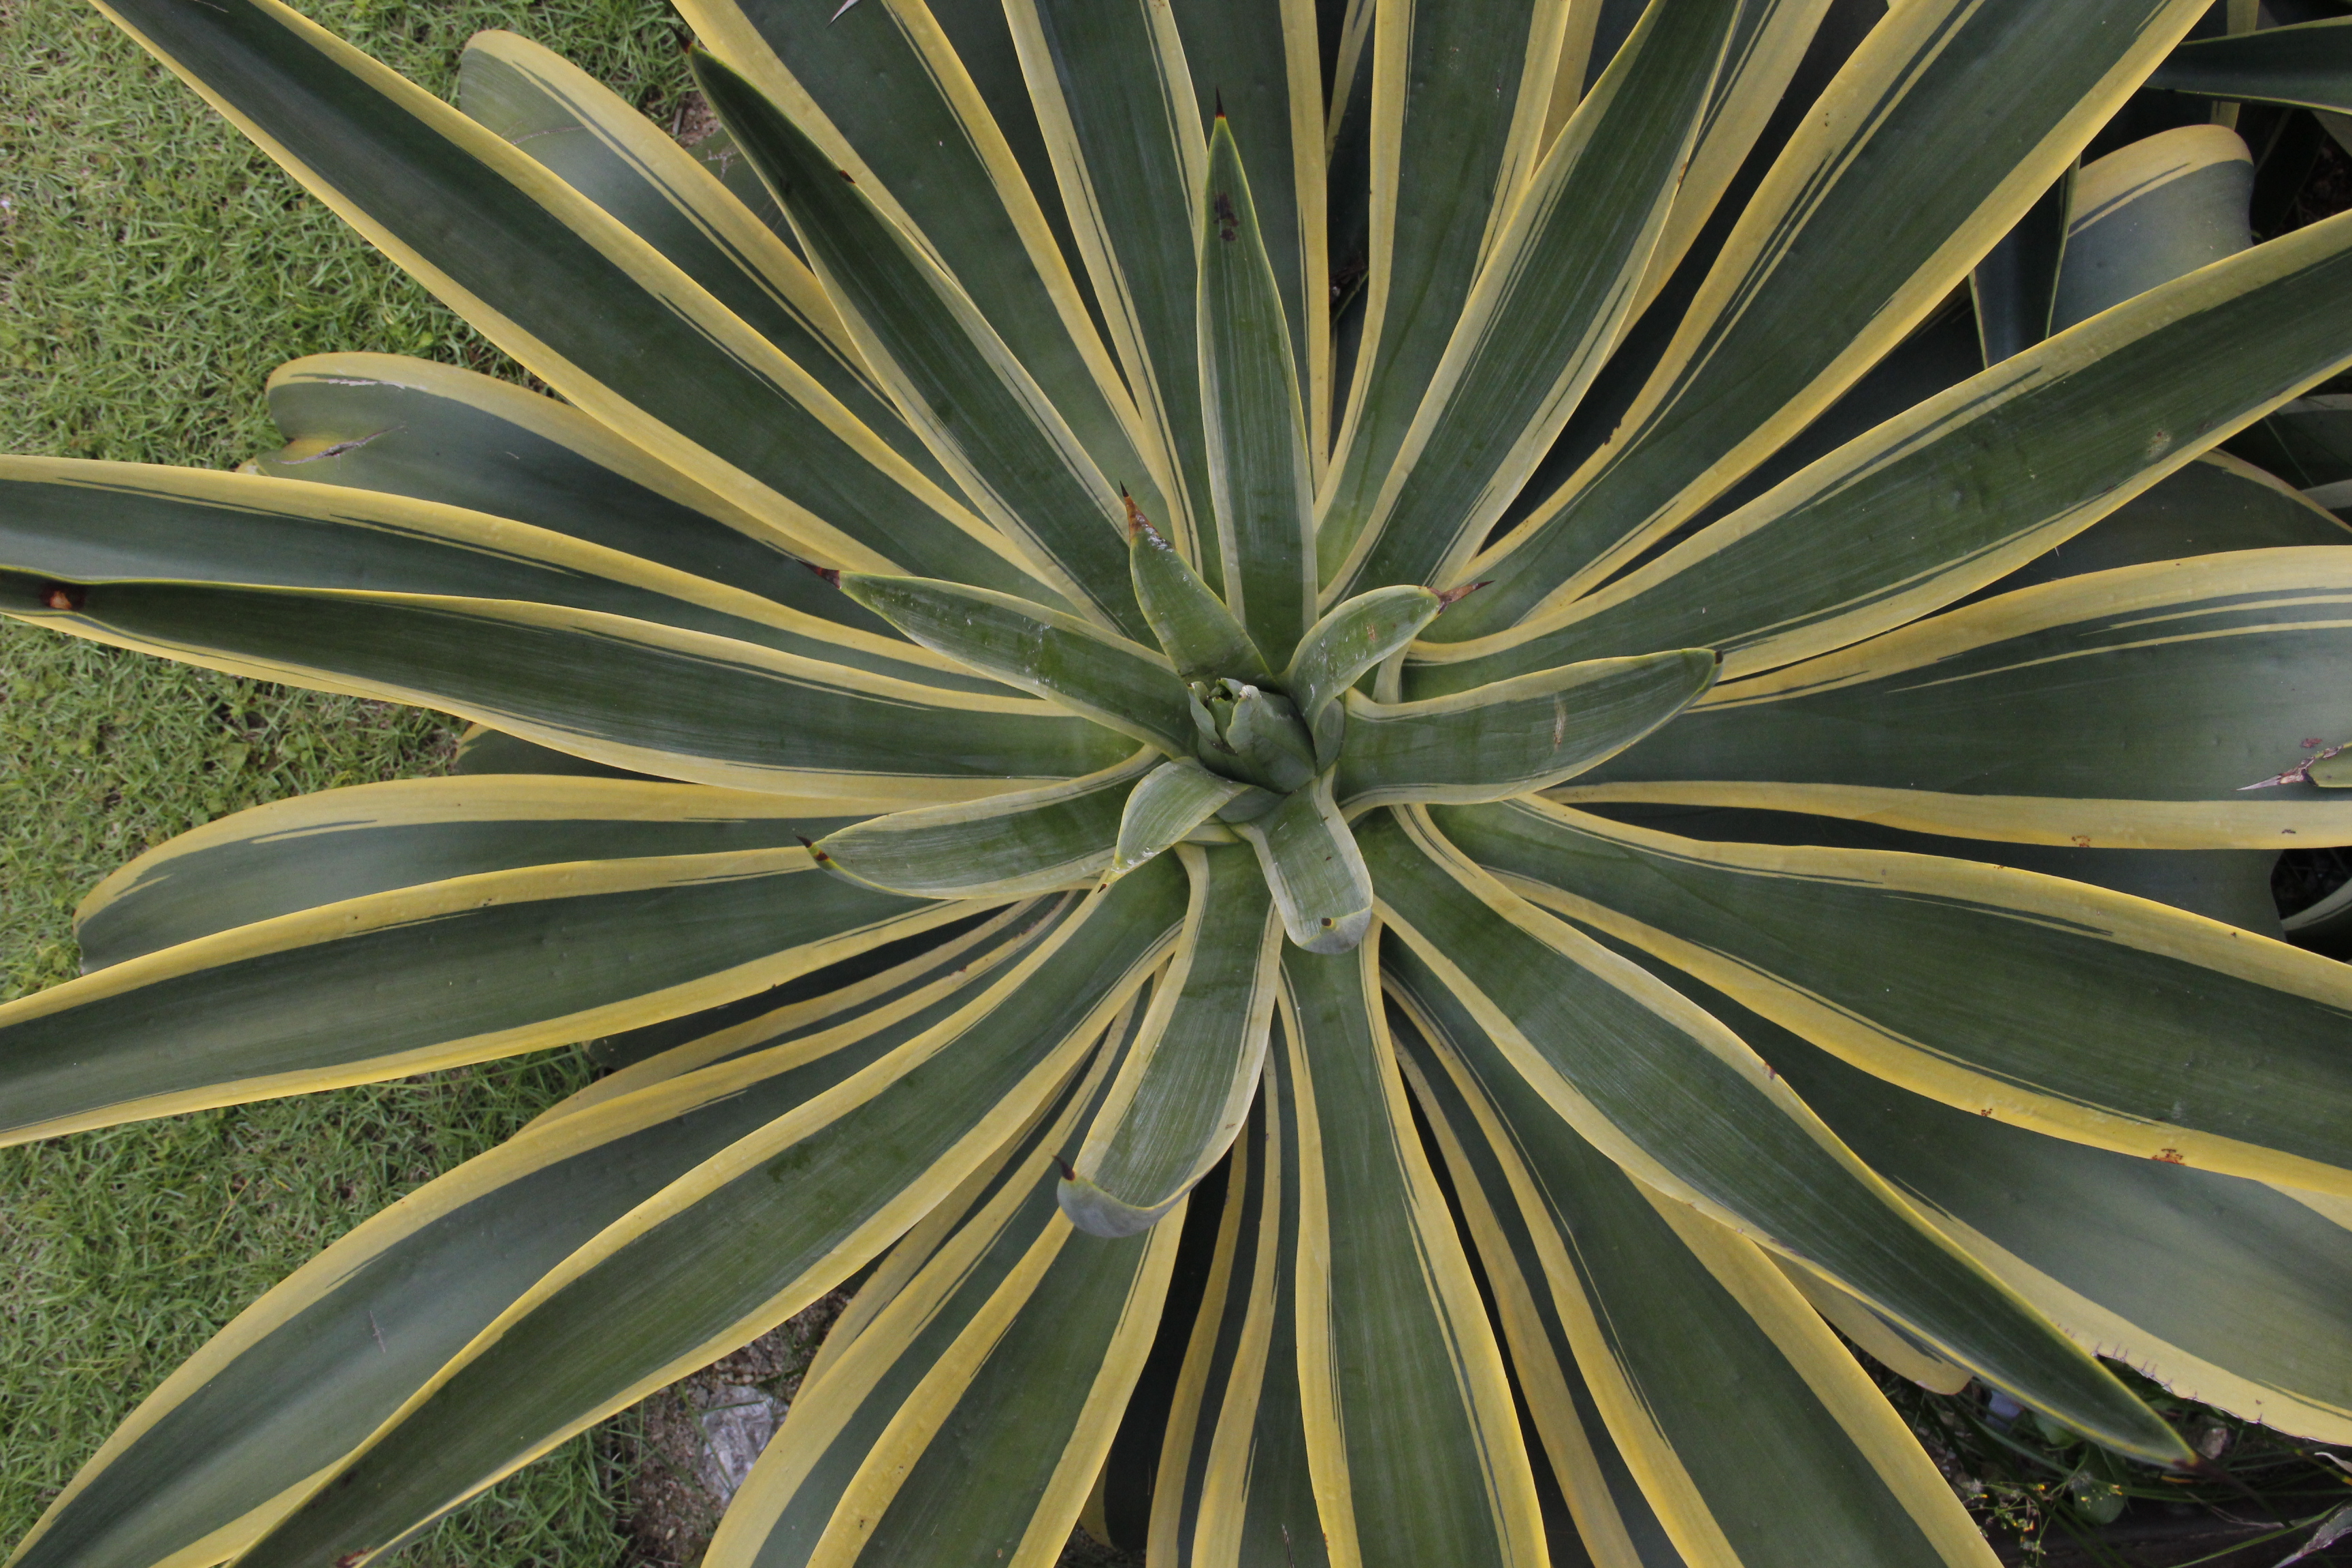
Leading Lines- to a centre if you are doing a theme on Environment.

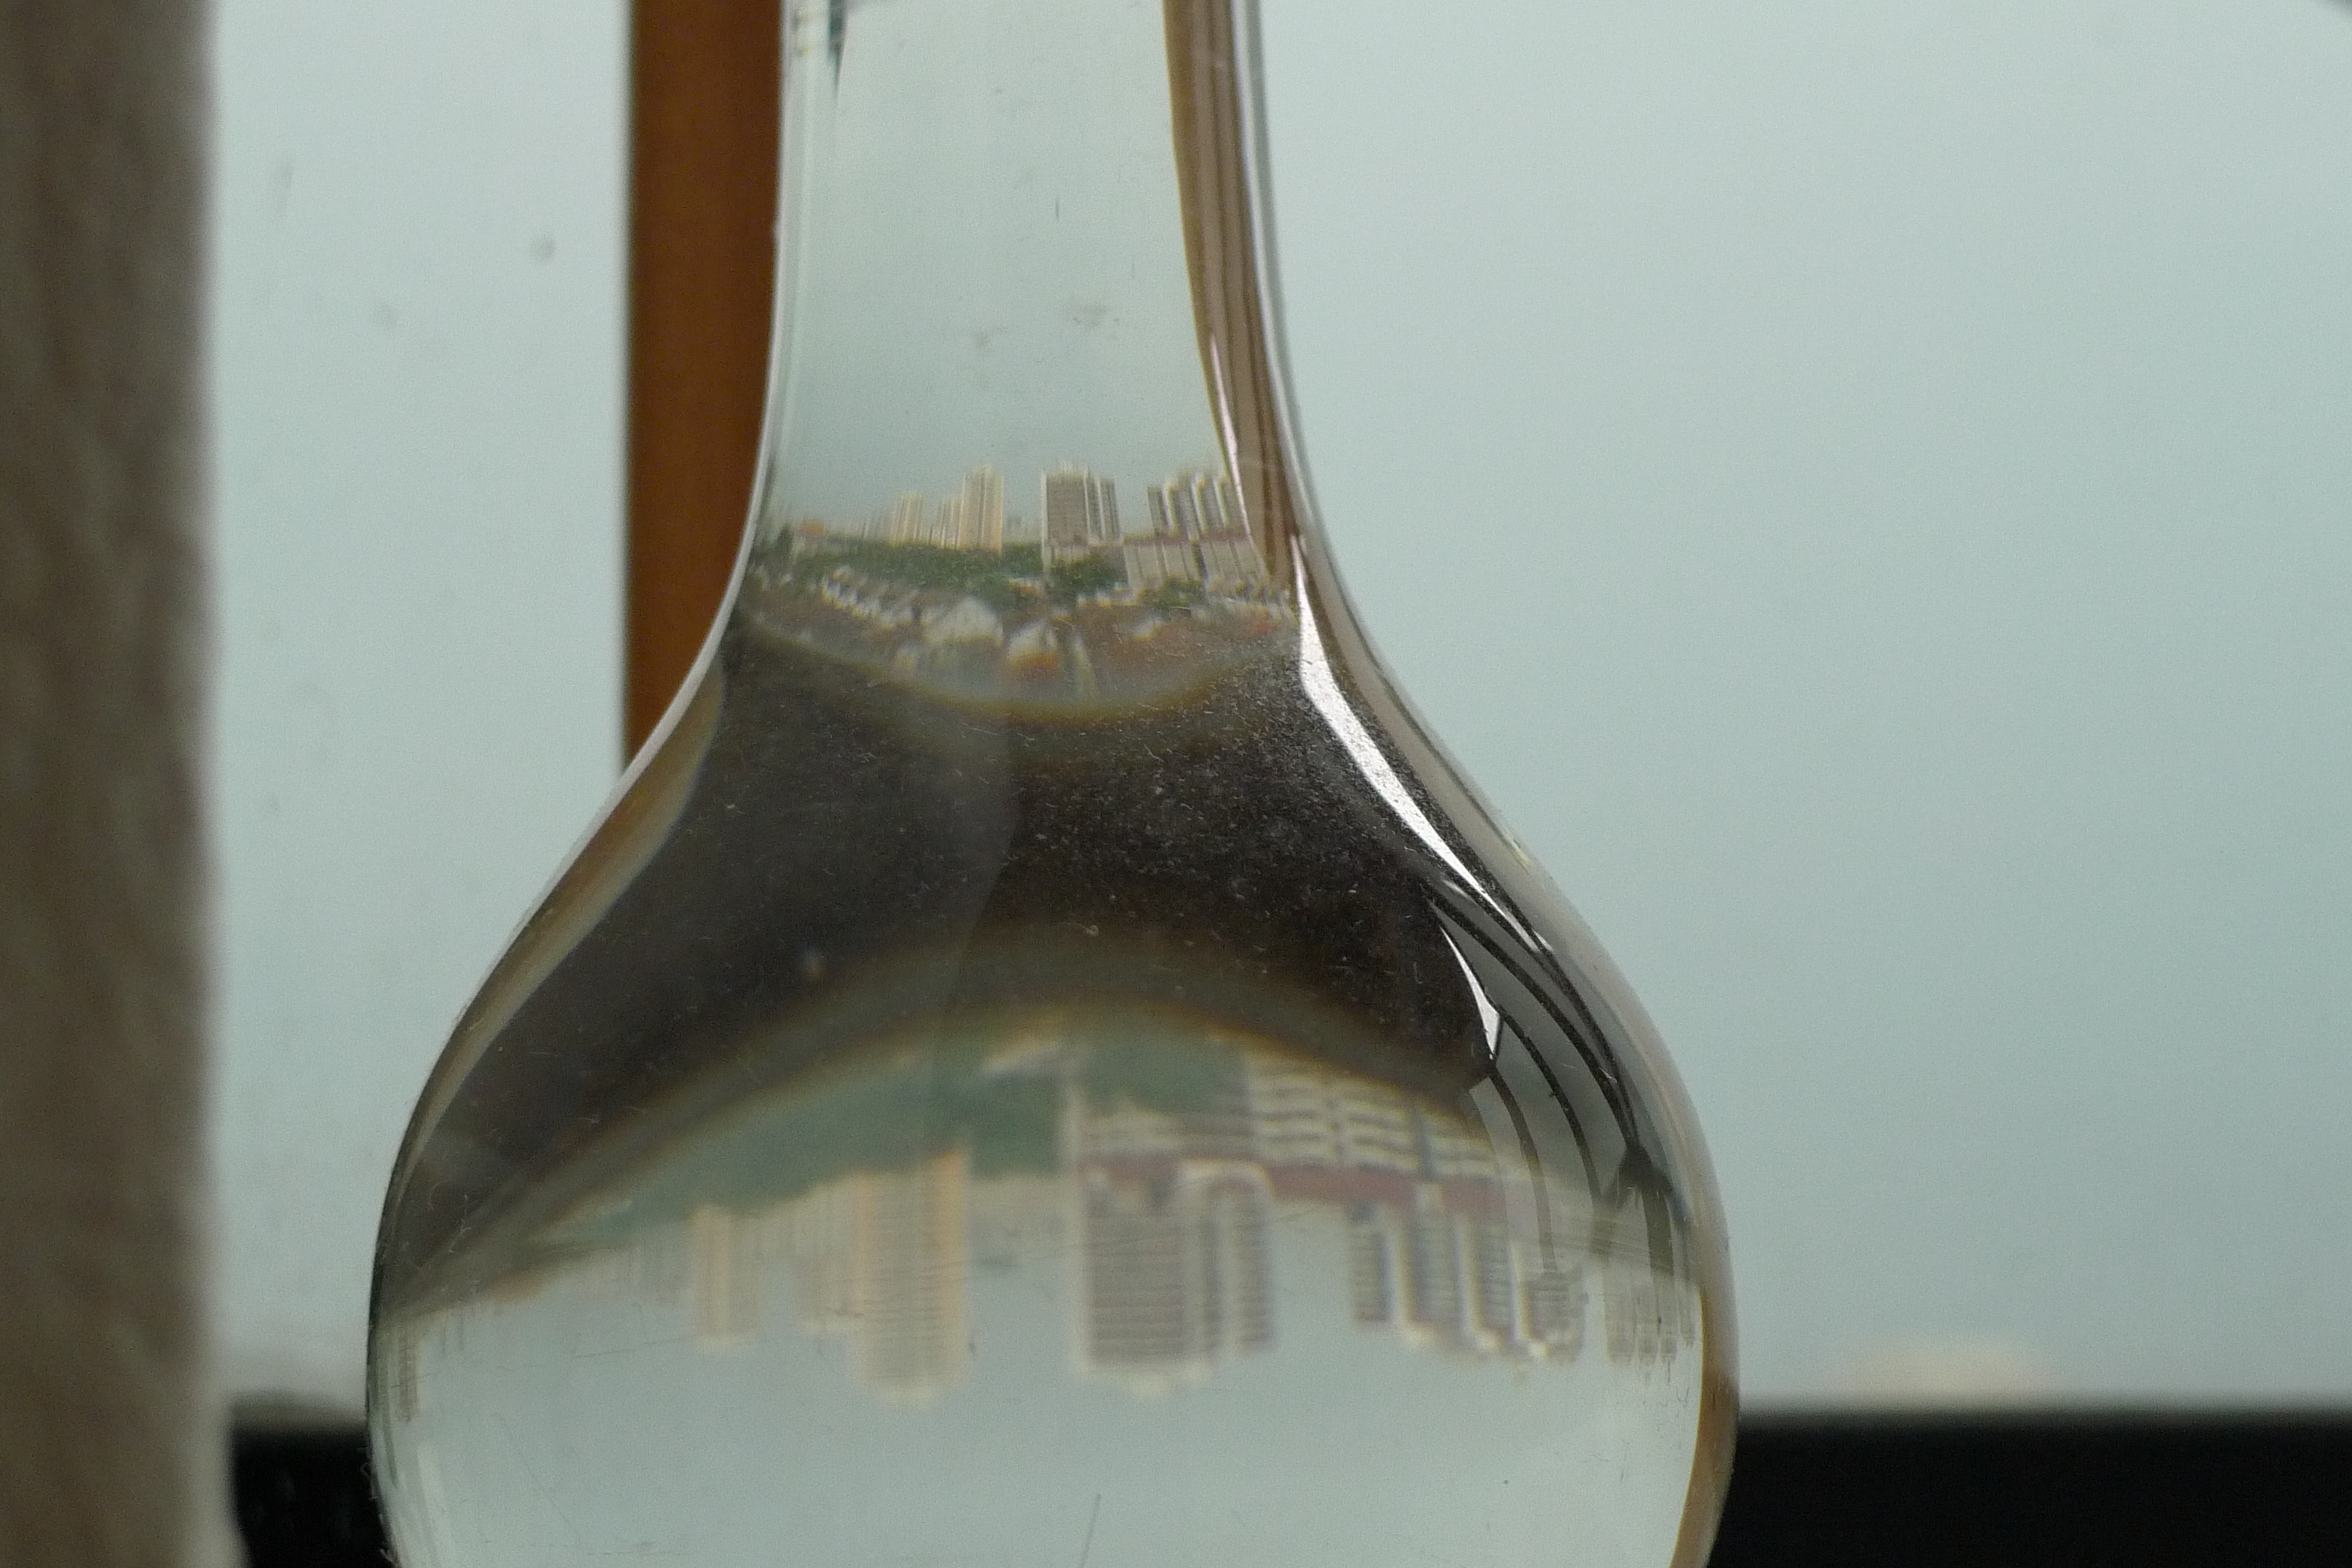
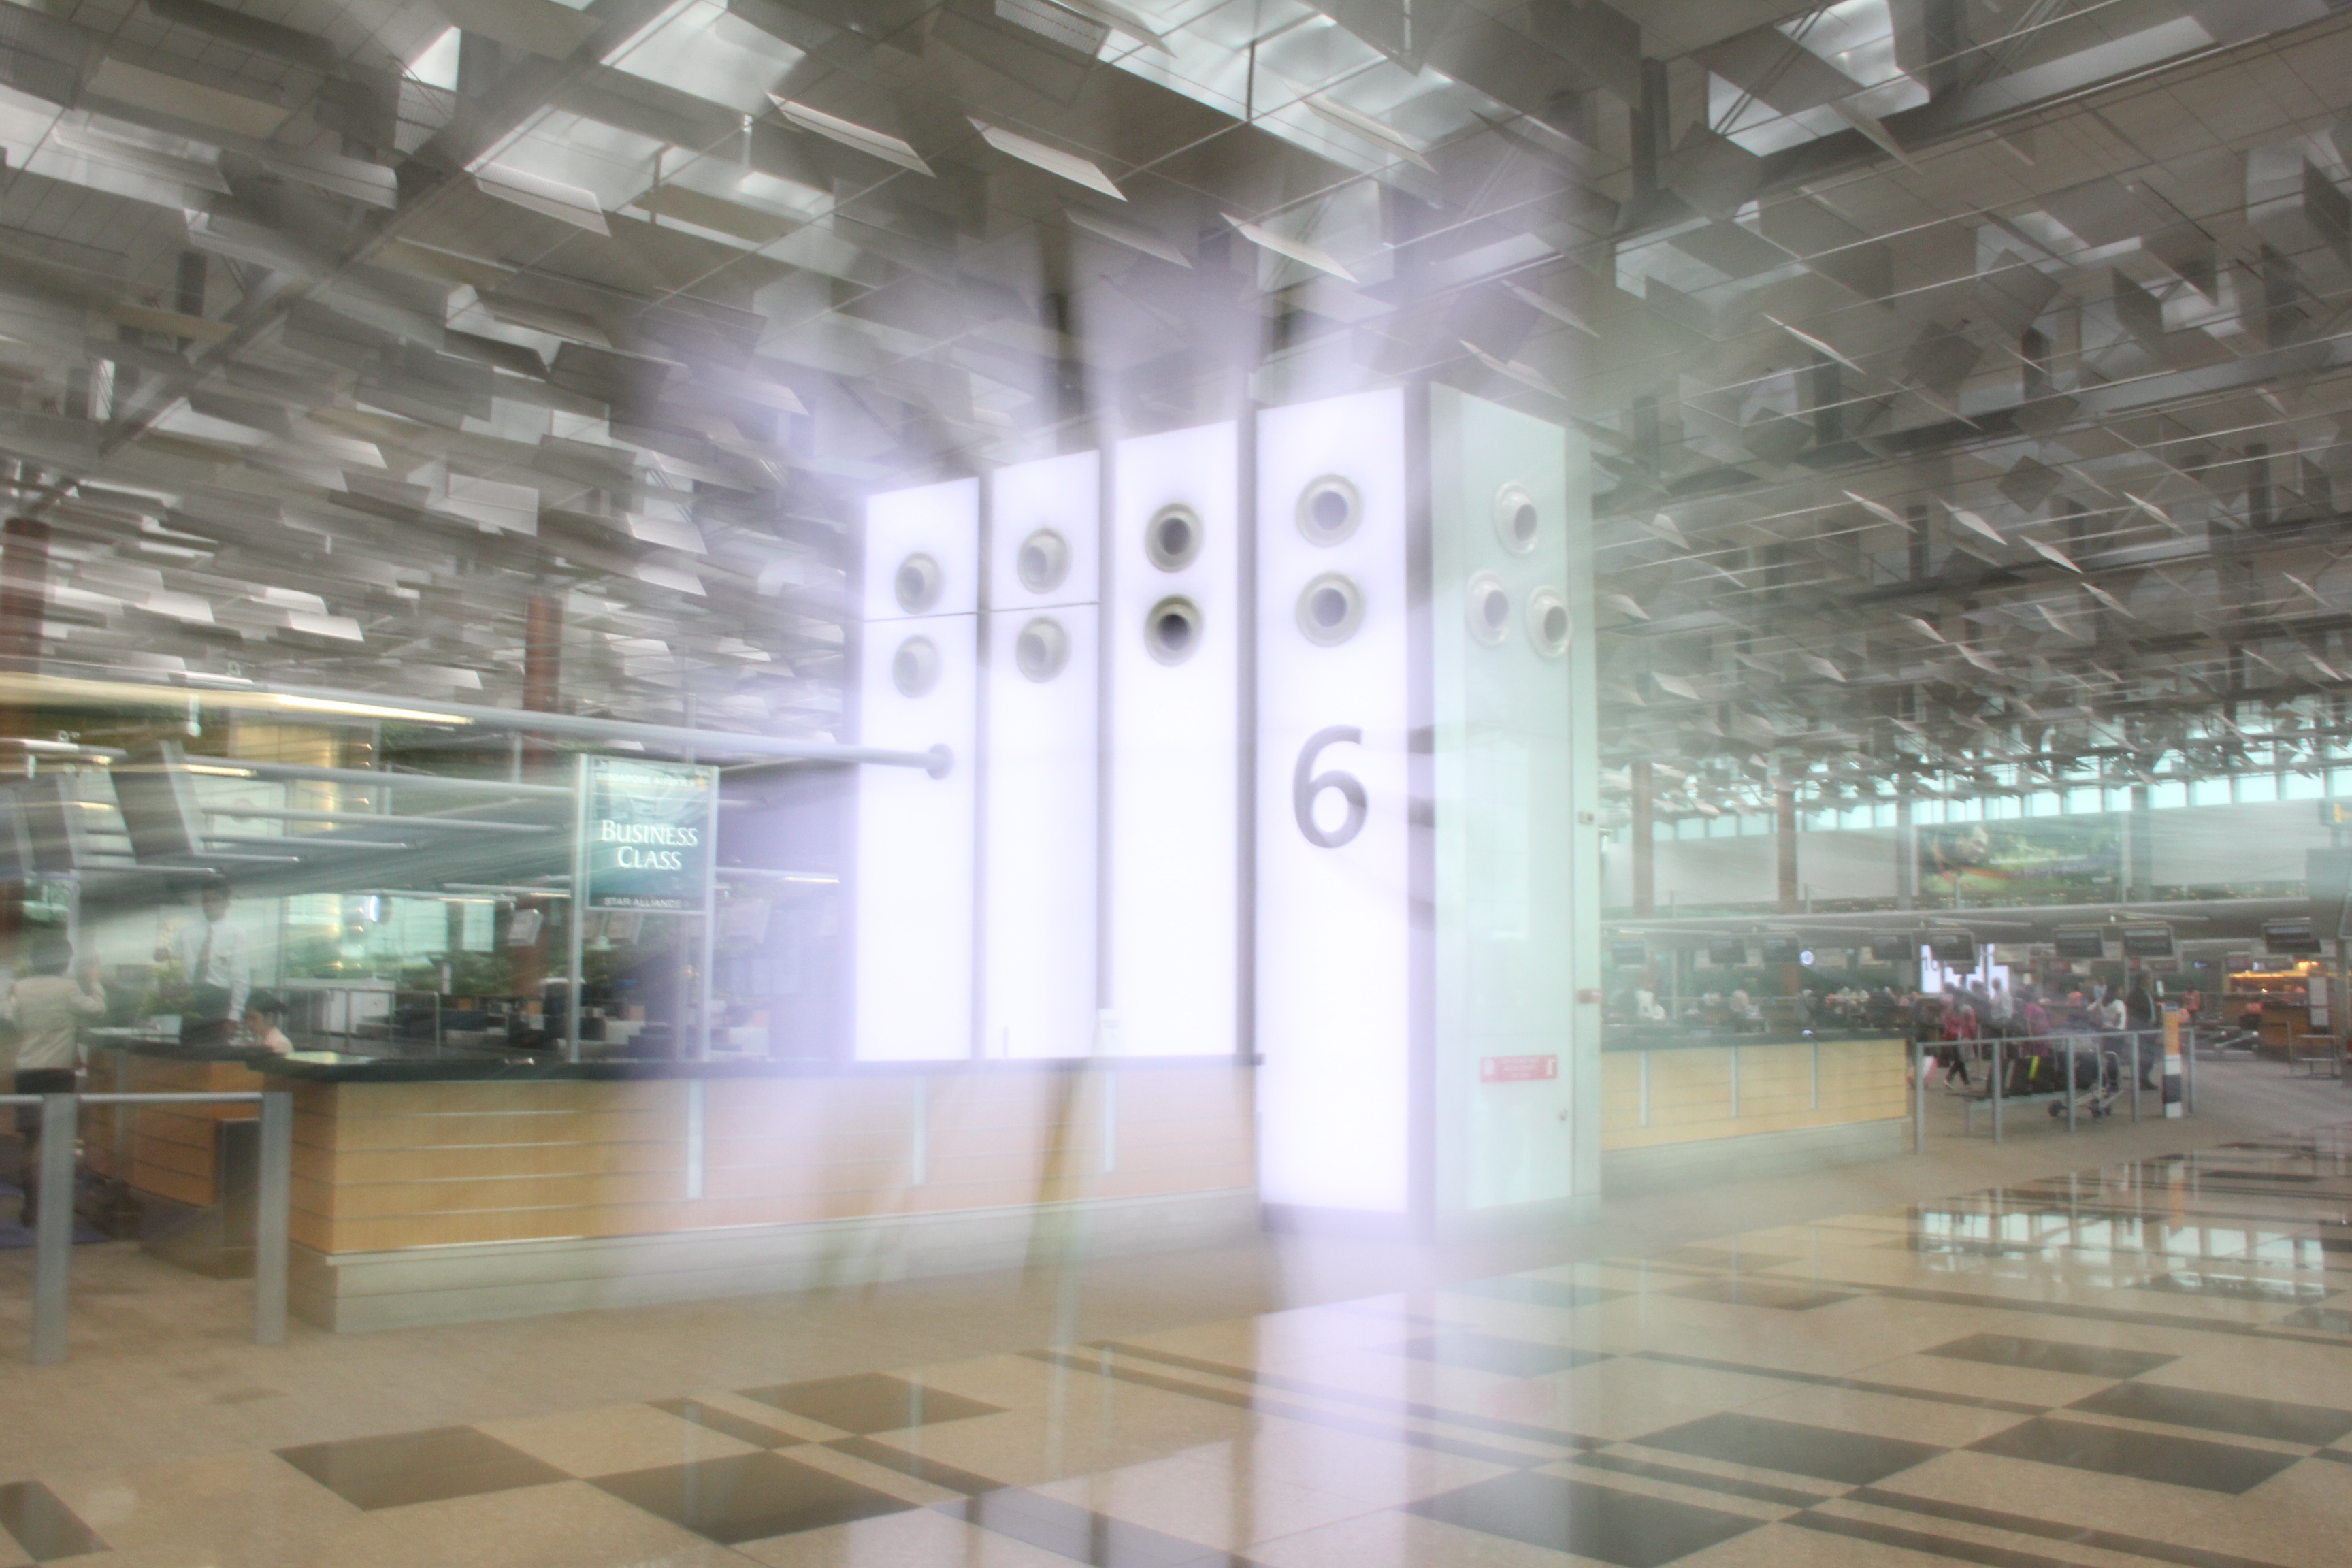
LENS. Making use of the Lens is another creative way to take unique photos.
Below are some photos with explanation on how it is taken.
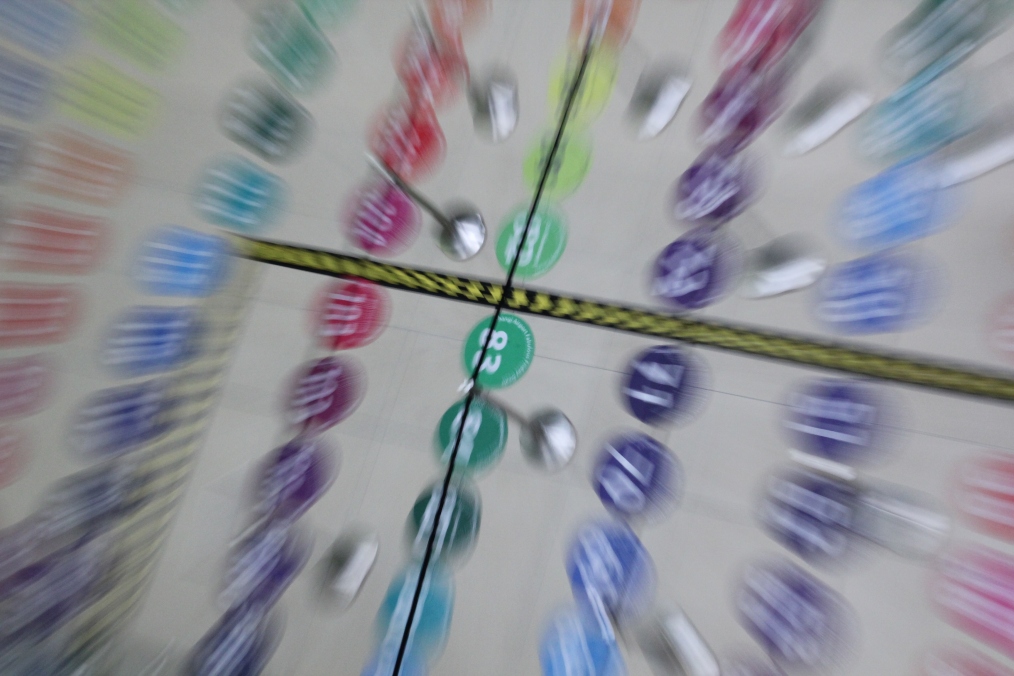
As you take your photo with a slightly slower shutter speed based on your desired preference, zoom in your DSLR Lens at the same time so that the area zoomed in will appear to be moving (please read my post about ‘Shutter Speed’ if you have not).

Same like the above one, zooming in makes the Light appear to be glowing as the slow shutter speed makes it leave light trails behind to appear as if it is glowing.
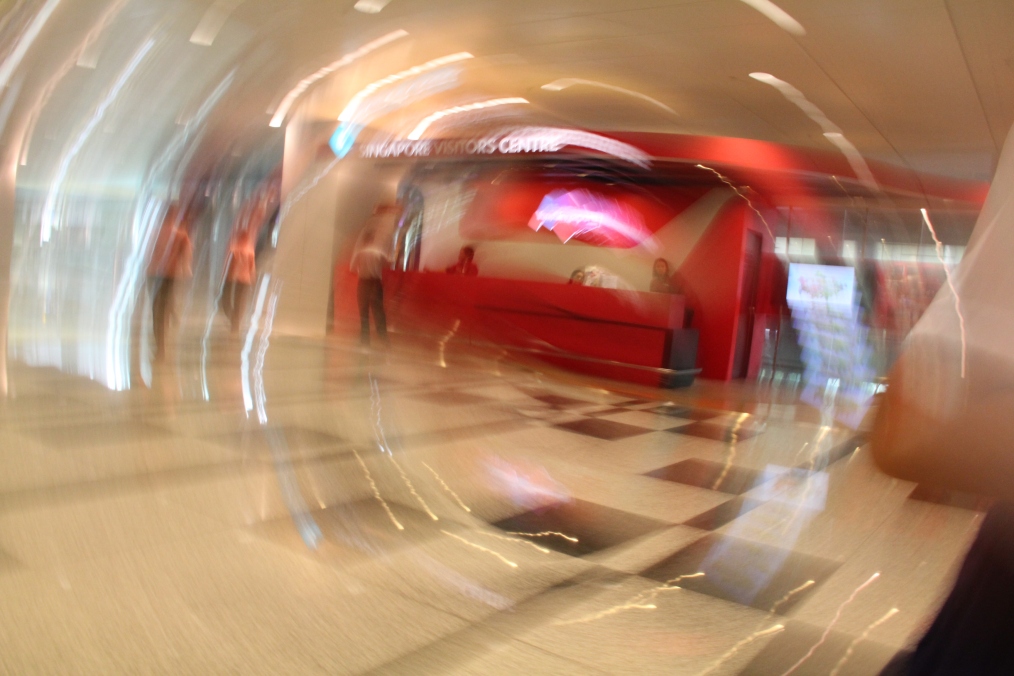
If you have really stable hands, try putting your camera at a faster speed and turn the lens clockwise while leaving the camera stable in its position.
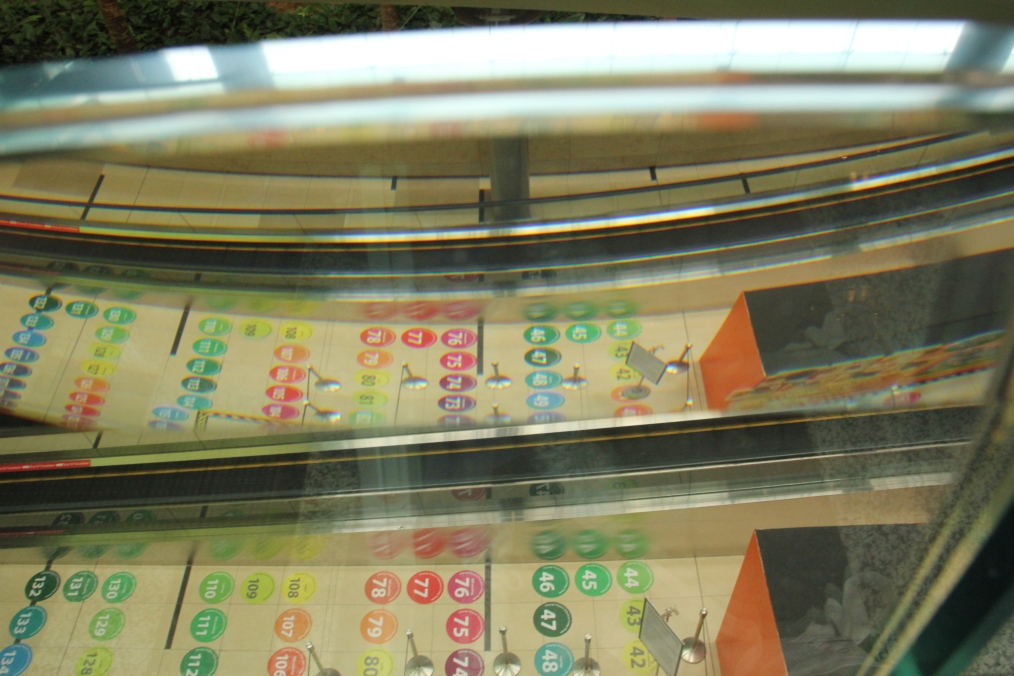
Being Creative, Consider how this photo is taken.
I hope by reading this you may get inspired to take more photos and be more creative.